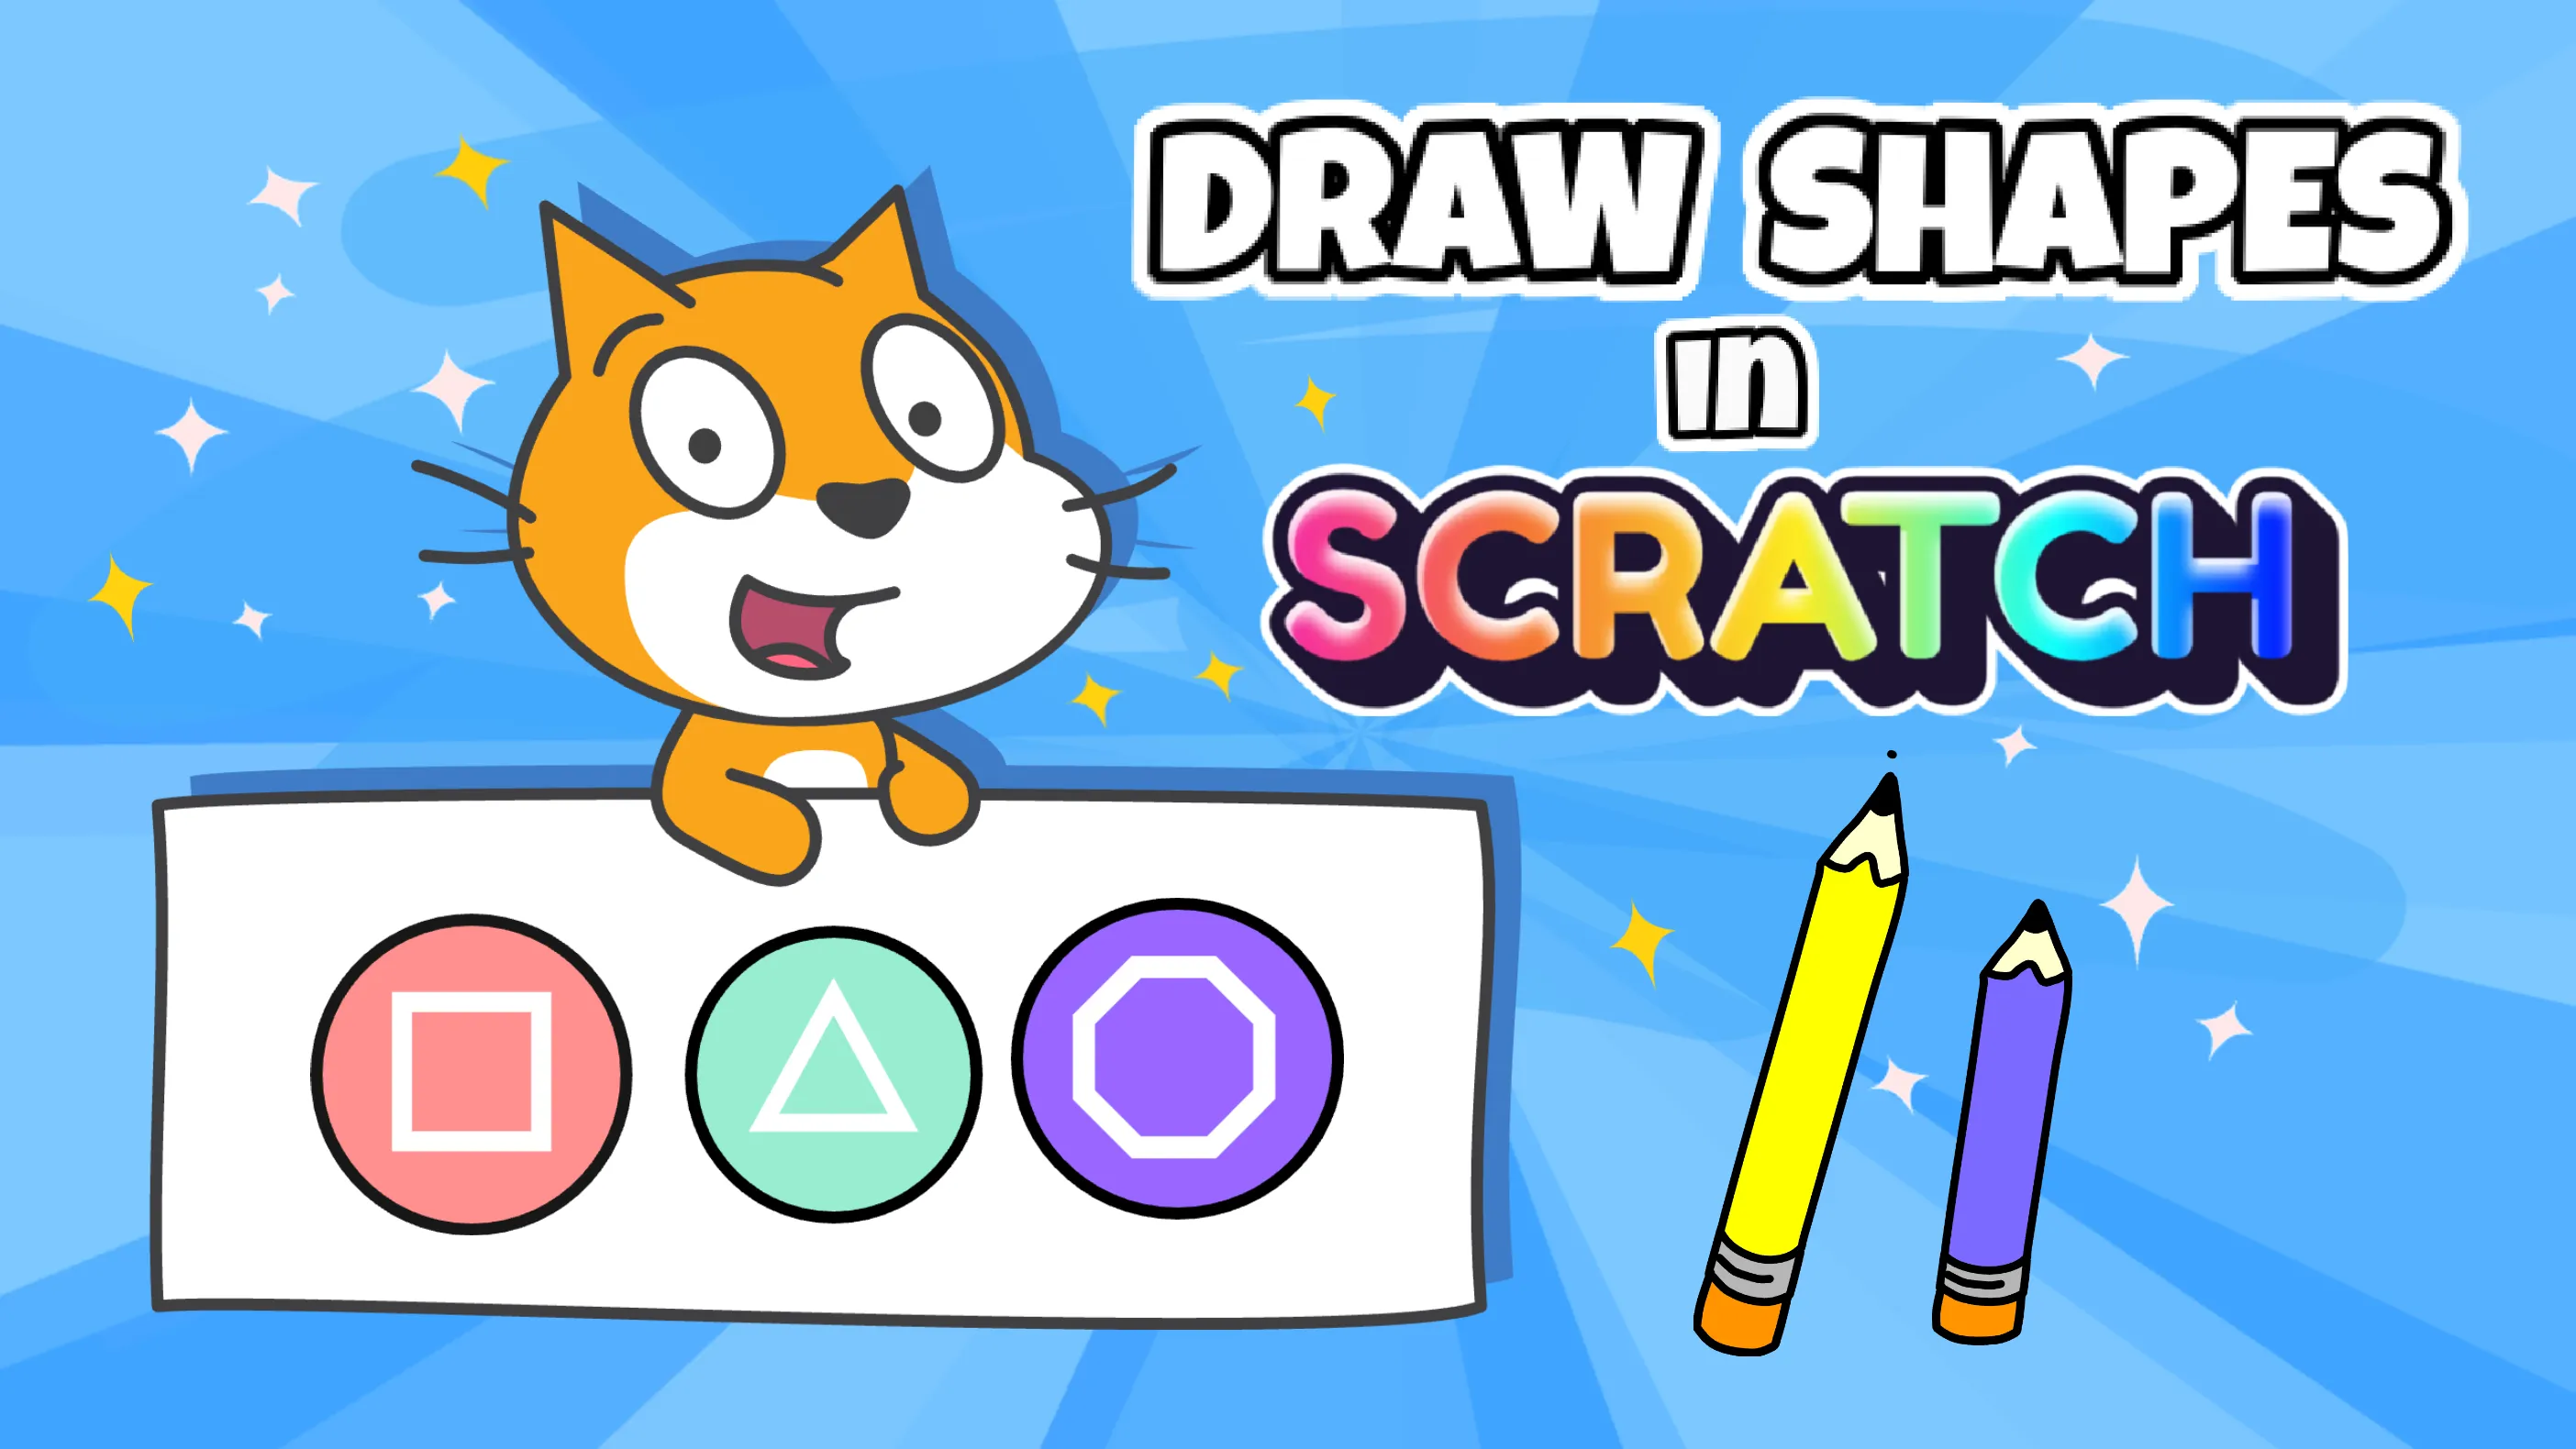
How to Draw Polygons in Scratch
If you’ve tried Scratch before, you probably know how to draw simple shapes, each with its own script and a few repeated blocks.
But what if your sprite could draw equilateral polygons, from triangles and squares to pentagons and shapes with many sides, using just one piece of code?
That’s exactly what we’re going to build! In this tutorial, we’ll create a small set of custom blocks that can draw polygons with equal sides simply by changing a few values. Along the way, we’ll use loops, variables, sliders, and the Pen extension to create colorful, dynamic designs while exploring ideas that real programmers use every day.
This post builds on the video tutorial below by exploring the core concepts behind the project in greater depth, so I recommend watching the video first to get the full context.
Who This Project Is For
-
Recommended Age: 9–14
-
Skill Level: Beginner, no prior coding experience required
-
Time to Complete: 10–30 minutes (depending on familiarity with Scratch and how much you experiment)
-
Best For: Independent learners and parents or teachers guiding learners. The tutorial is well-structured and easy to follow
-
Learning Benefits: Builds logical thinking, creativity, and problem-solving skills
What’s Covered in This Tutorial
- How to calculate turning angles to draw any equilateral polygon
- How to use variables and sliders to control the shape’s sides, length, and pen color
- How loops let you draw shapes without repeating code
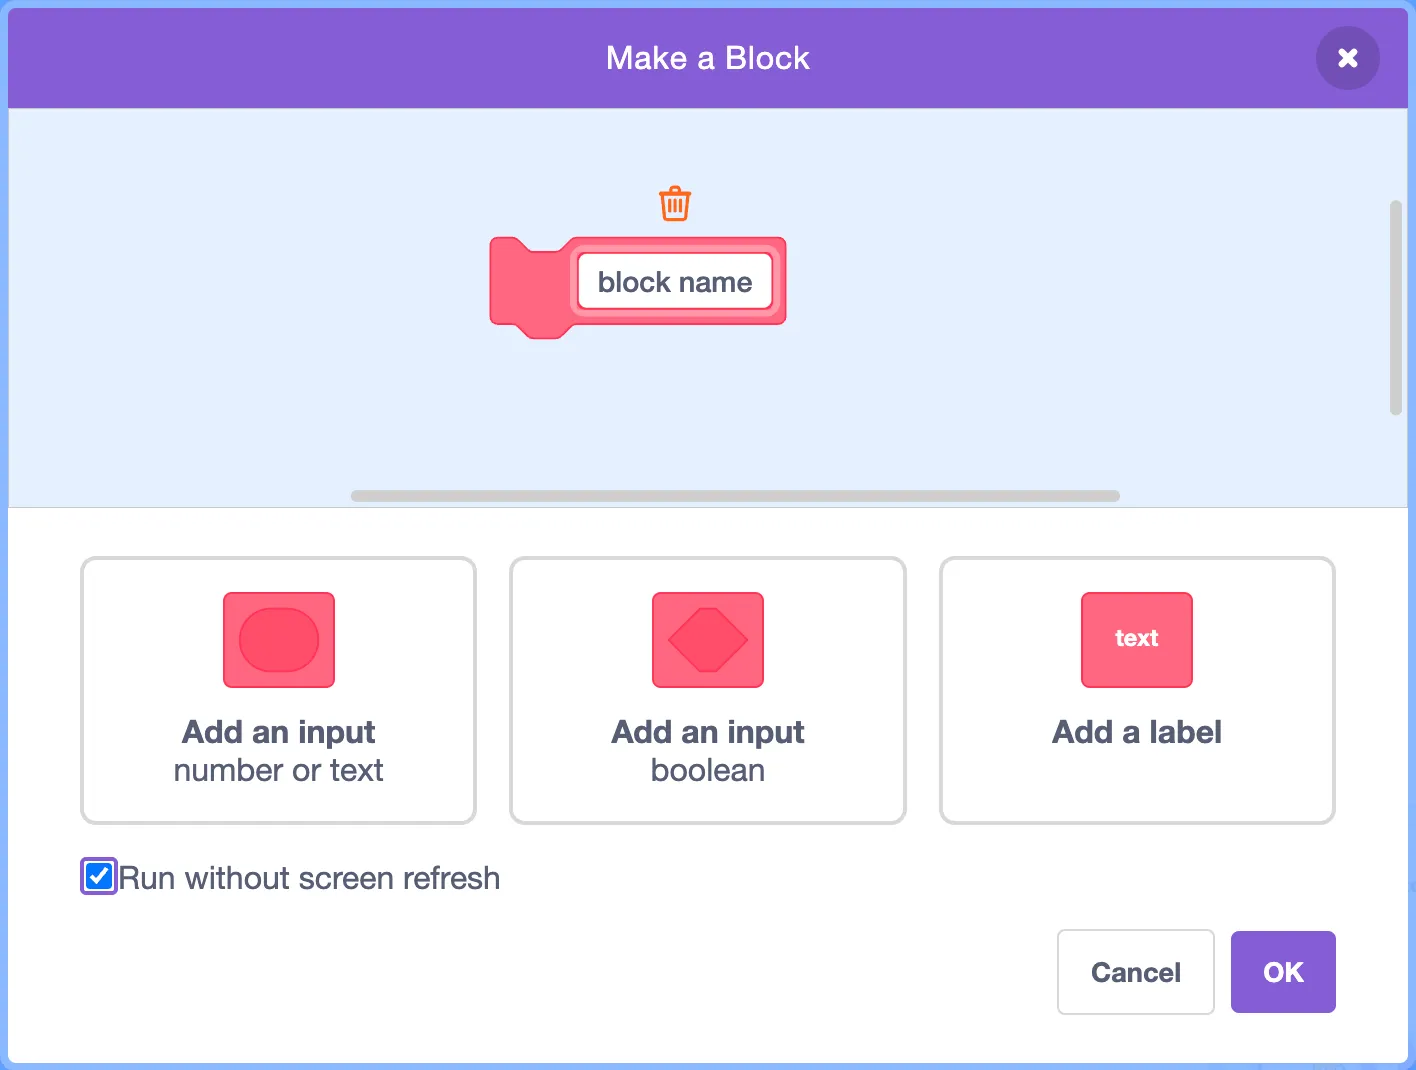
- How to organize your program with custom blocks
- How to draw on the stage using Scratch’s pen extension
Key Programming Concepts
-
Variable: Stores values like the number of sides, the length of each side, or the pen color. Variables let the program change its behavior based on input.
-
Loop: Repeats a set of instructions multiple times. Loops help us avoid writing the same code again and again.
-
Custom Block: A reusable group of blocks that performs a specific task. Custom blocks help keep the project organized and make the code easier to understand.
- Pen Extension: Lets the sprite draw on the stage. It controls things like pen color, pen size, and clearing the drawing.
Step-by-Step: Drawing a Polygon in Scratch
Let’s start by imagining that you’re drawing an equilateral polygon on paper. What would you do? You’d probably start by drawing one side. Then, to make the shape, you would turn a little and draw the next side. After that, you would turn the same amount again, draw the next side, and keep repeating this process until the polygon is finished.
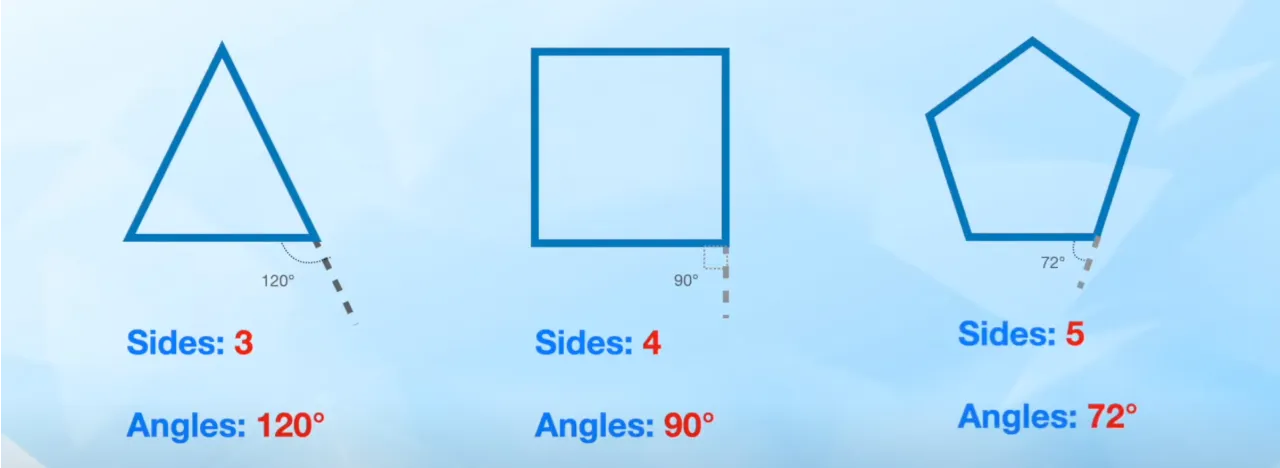
Now, the question is: how much should you turn each time? There’s a simple formula that tells you. If you take 360° (a full circle) and divide it by the number of sides in your polygon, you get the exact angle to turn after drawing each side. This angle is called the exterior angle and it makes sure the shape closes perfectly.
The Key Formula:
Turning angle = 360° ÷ number of sides This formula works for any equilateral polygon. Just change the number of sides, and it works every time.
For example:
- Triangle (3 sides) → 120°
- Square (4 sides) → 90°
- Pentagon (5 sides) → 72°
In Scratch, the idea works in the same way. The sprite draws one side, then turns by the angle you calculated, and draws the next side. Using a repeat loop, the sprite keeps moving and turning until the polygon is complete. It’s just like drawing on paper, but now Scratch does all the work for you.
Using Variables to Draw Any Polygon
We want our program to draw any polygon, not just one fixed shape, we can’t use single, hard-coded numbers for the sides or the length. Fixed numbers would only let us draw one triangle, one square, or one pentagon.
To make the program flexible, we use variables instead. Variables store values like the number of sides, the length of each side, or the pen color, and they let us change these values without rewriting the code.
To make things even more fun and interactive, we can turn these variables into sliders that you can adjust while the program is running.
Here are the three variables you’ll need:
-
Sides: The number of sides the polygon has. Changing this lets you draw triangles, squares, pentagons, or many other polygons.
-
Length: How long each side should be. This allows you to make small or large shapes easily.
-
Color: The color the pen draws with. Changing this makes your polygons colorful and more fun to explore.
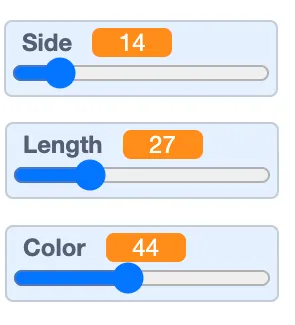
Using sliders lets you experiment and see how the shape changes instantly, which makes learning Scratch more interactive and enjoyable.
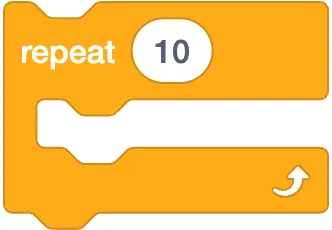
Using Loops to Draw Polygons
We use a repeat loop to draw the shape. Since a polygon is made of the same step repeated multiple times, a loop is the perfect tool. Instead of writing the same code many times, the repeat loop tells the sprite to draw a side, turn, and do it again for each side of the polygon.
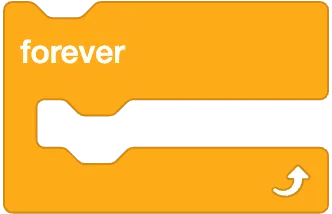
To make the shape respond when the sliders change, we place the drawing code inside a forever loop.
This means Scratch keeps checking the values of the sliders and redraws the shape whenever they change, so you can see the result instantly.
This project may look simple, but it introduces an important programming idea. Instead of using fixed values and repeating the same code over and over, we write shorter, smarter, reusable code that adapts to different values.
Common Problems and How to Fix Them
| Problem | What to Check |
|---|---|
| Shape doesn’t close | Make sure the sprite turns 360 ÷ sides degrees and repeats the correct number of times. |
| Old shapes stay on screen | Use the erase all block before each drawing |
| Sliders don’t work | Check that the variables are used inside the drawing code |
Try These Challenges
- Animate the shape by rotating it slightly between repeats
- Change or randomize pen color to make the drawing more colorful and alive.
- Use ask blocks to let users type custom values
- Combine multiple polygons to create patterns or complex designs
Finished This Tutorial?
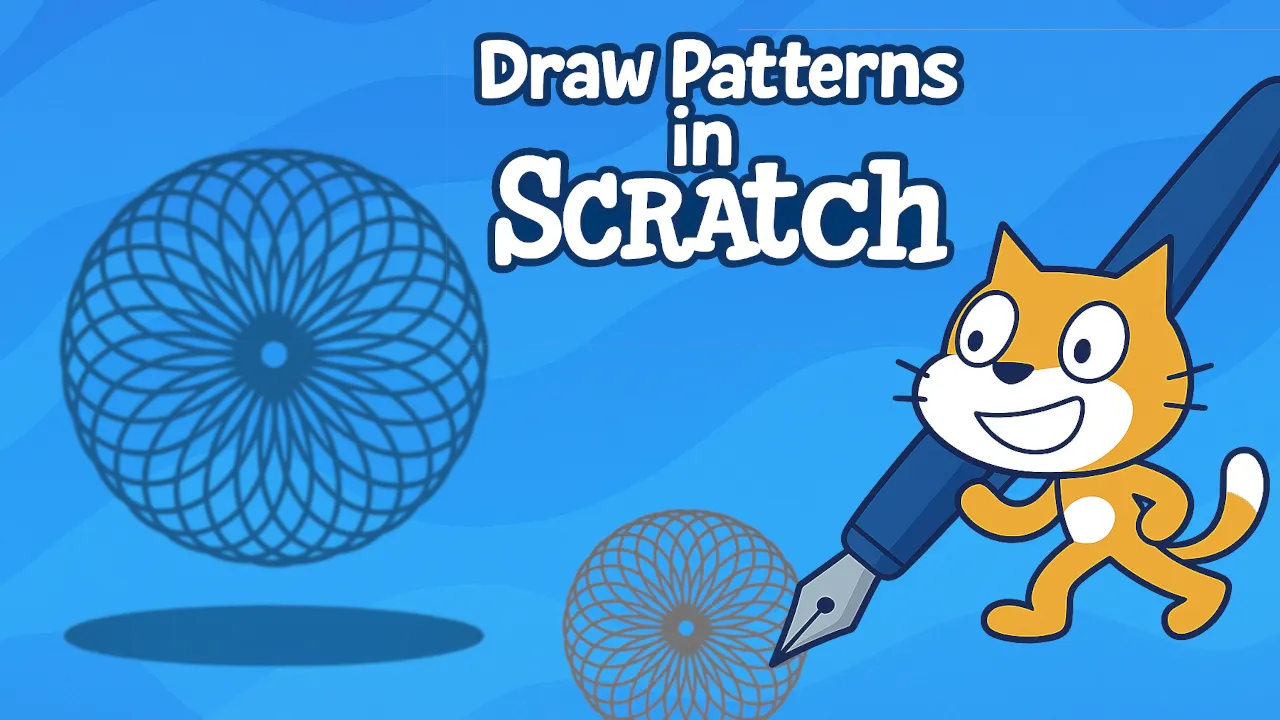
If you’d like to take this idea further, the next project shows you how to draw patterns in Scratch using polygons.:
If you’re interested in more projects like this, check out my YouTube channel, where I regularly share Scratch tutorials to help you explore, learn, and create.
TheSTEAMist