How to Create an Outline Effect with the Pen Extension in Scratch
Adding an outline around your sprite in Scratch is one of those small details that can completely transform the look of your project. Outlines make characters pop off the screen, look cleaner against different backgrounds, and give your game a more polished look.
In this tutorial, we’ll walk through how to code a dynamic outline effect in Scratch using the Pen extension and a custom block.
I’ve tried a lot of other outline tricks in Scratch, but most of them fall apart once your sprite starts moving, rotating, or changing size. This method, on the other hand, keeps the outline smooth and perfect no matter what your sprite is doing.
Watch the full tutorial on YouTube here:
What You’ll Learn:
- How to add the Pen extension in Scratch.
- How to build a custom block with inputs.
- How to use the stamp block to create outlines dynamically.
- How to handle movement and rotation so the outline stays aligned.
Step-by-Step: Coding the Outline Effect
Let’s go through the process step by step.
Step 1: Add the Pen Extension
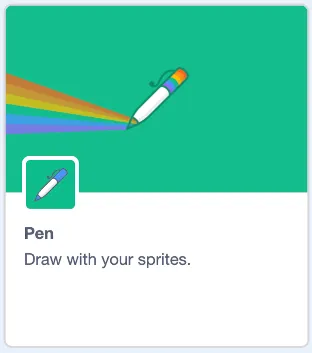
Go to the bottom left corner of Scratch, choose Extensions,
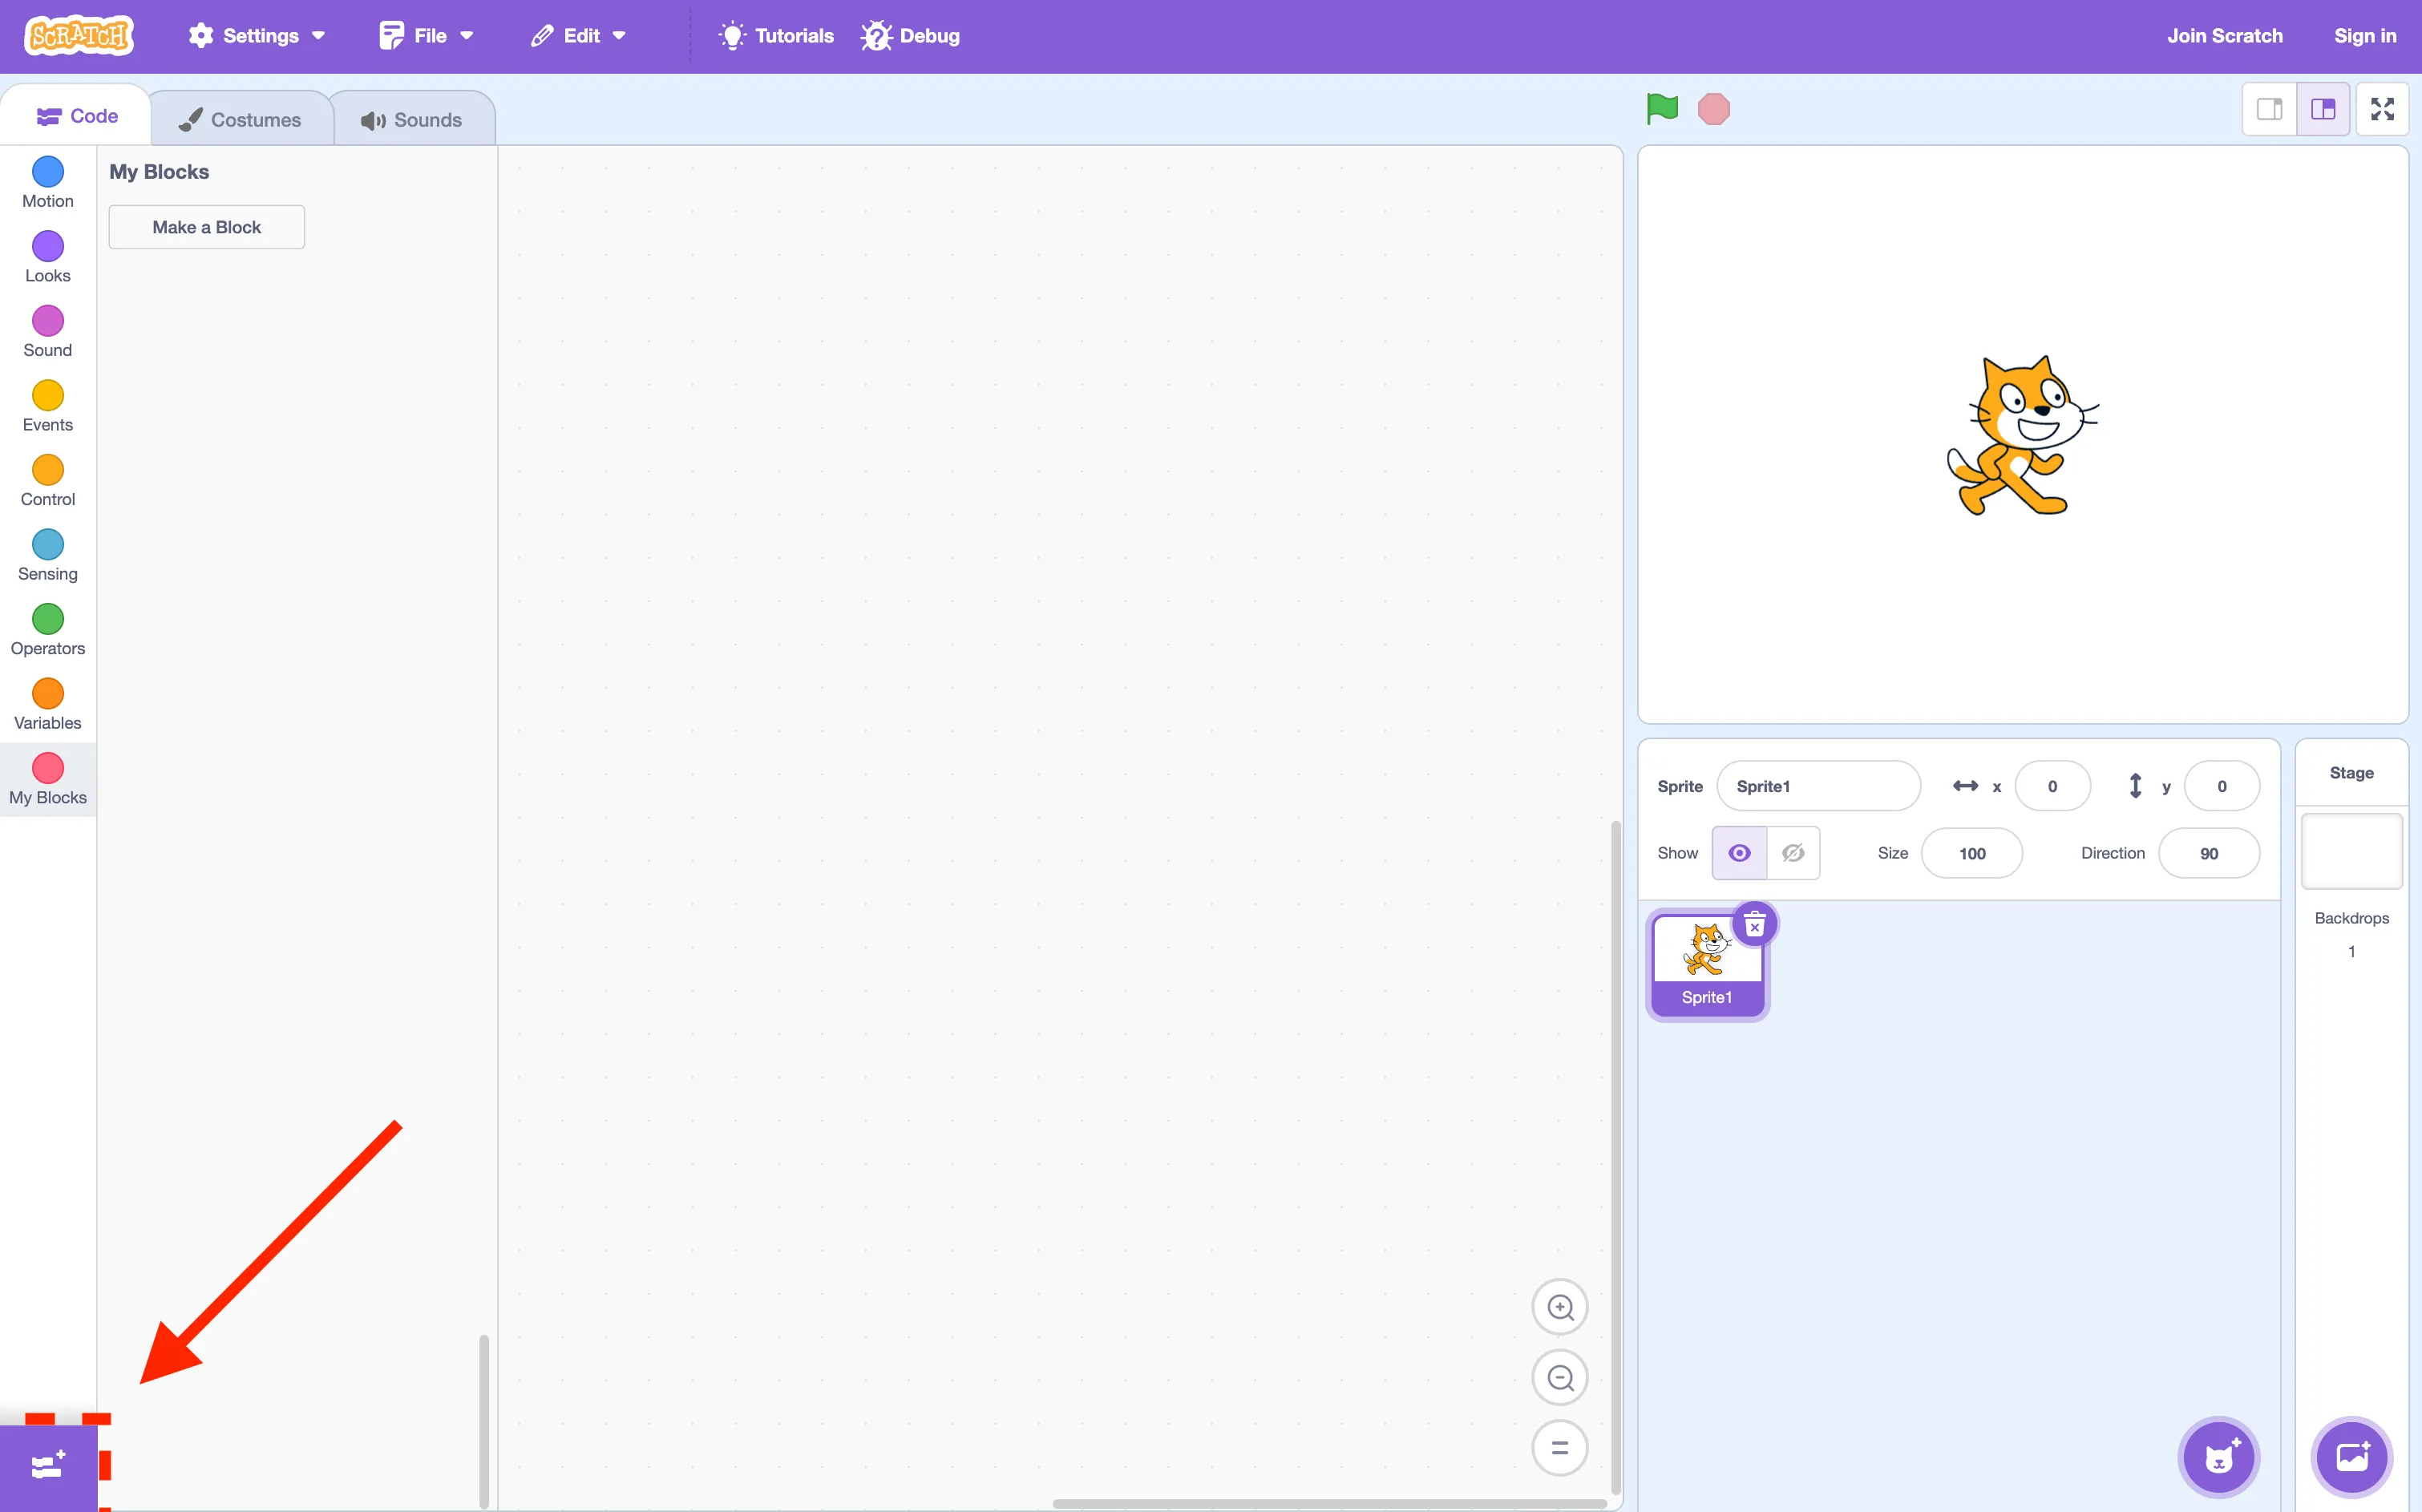
and add the Pen extension.
Step 2: Start the Base Script
Like every Scratch project, begin with:

and then

This ensures your sprite always starts in the center.
Step 3: Create a Custom Block
We’ll create a custom block called DrawOutline. Add three inputs:
- Thickness
- SpriteX
- SpriteY
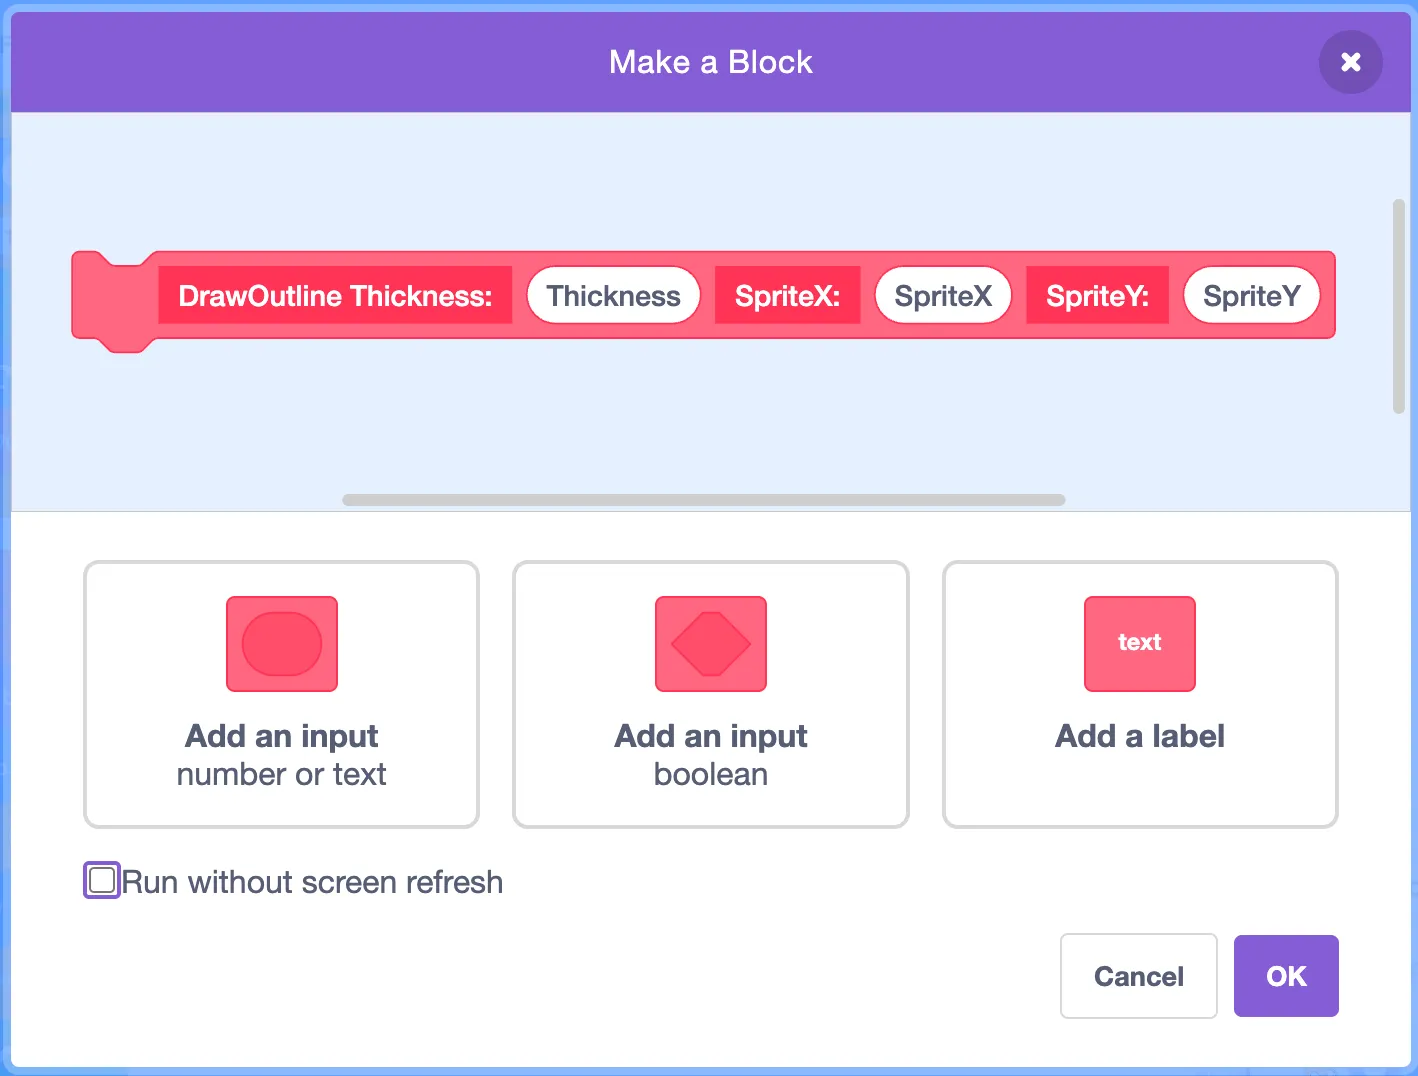
Check “Run without screen refresh” so it executes instantly.
Step 4: Make the Sprite Black for the Outline
Use:

This turns the sprite black so it can act as the outline. Don’t worry, we’ll reset it later.
Step 5: Stamping the Outline
Here’s the logic:
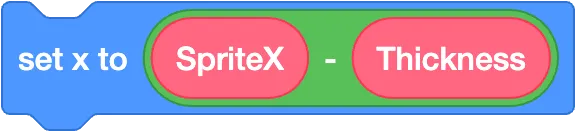
-
Move the sprite slightly left
-
Stamp it
-
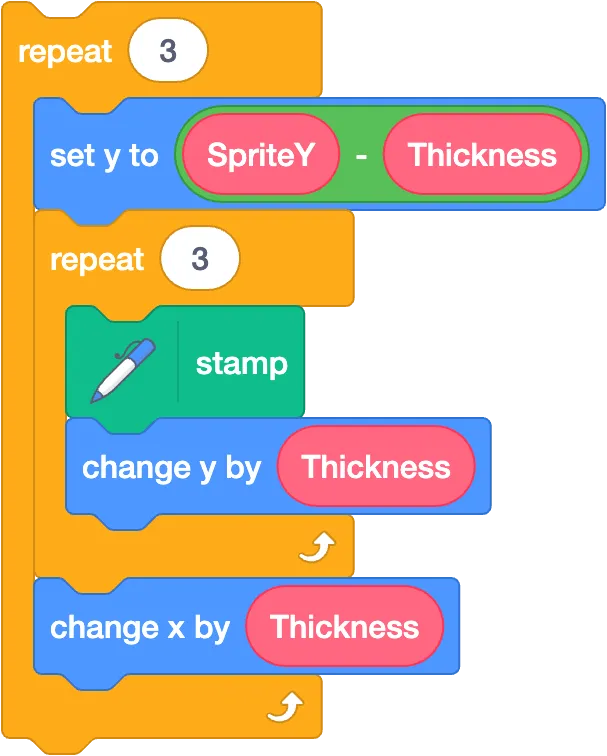
Repeat this for positions: left, center, and right
-
At each x-position, loop over y-values: bottom, middle, top
-
Stamp once at each position
This creates a 3×3 grid of stamps around the original sprite, giving the appearance of an outline.
Step 6: Reset the Sprite
After stamping:
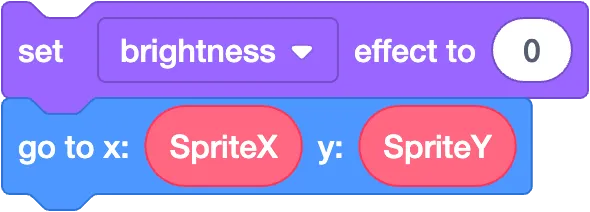 This returns the sprite to its original position and color.
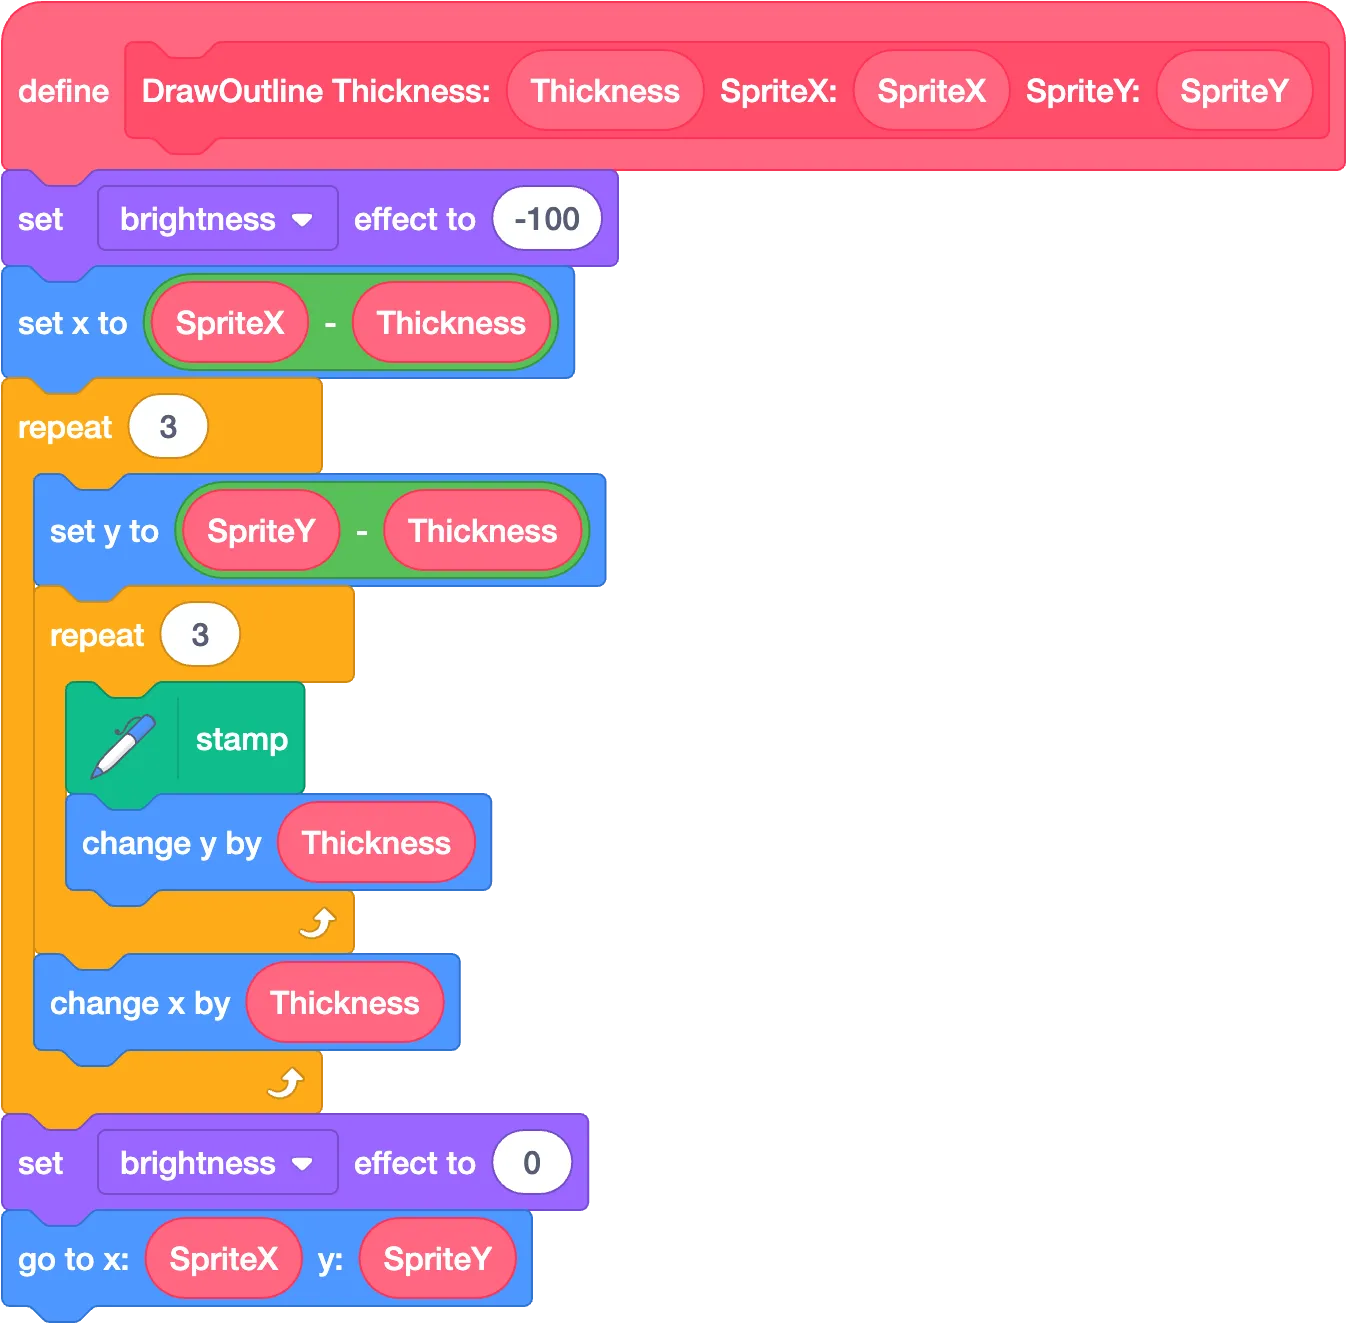
All together our custom block should be like this:
Step 7: Run the DrawOutline Custom Block
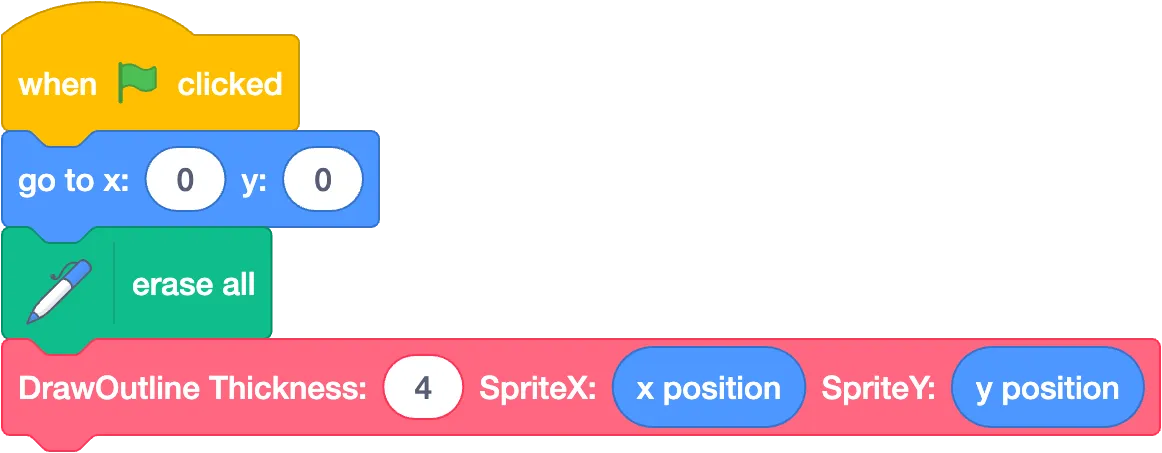
Under the When Green Flag Clicked block:
- Add erase all (from the Pen extension). This clears any old outlines so your stage doesn’t get cluttered.
- Then call the DrawOutline block to make your sprite’s outline appear.
Results and Tips
- Your sprite now has a clean outline effect.
- Thin details like whiskers may look messy. Consider editing and simplifying the costume.
- You can change the Thickness input for thicker or thinner outlines.
- Try moving or rotating your sprite after calling the block. Notice how the outline stays aligned perfectly!
What’s Next?
This is just one example of how the Pen extension can add polish to your projects. Next, you can try:
- Adding glow effects with color and transparency
- Creating drop shadows for sprites
Mini Quiz
Test your knowledge with this short quiz!
Question 1: You want your Scratch sprite to have a clean outline that stays aligned even when it rotates or changes size. Which approach works best?
A) Simply change the sprite’s costume color to black
B) Use the Pen extension to stamp the sprite around its position with a custom block
C) Draw the outline by changing the size and stamping the sprite
D) Use the “Change Brightness” effect every frame
Click to reveal the correct answer
Answer: B) Use the Pen extension. This allows the outline to stay smooth and aligned even when the sprite moves, rotates, or changes size.
Question 2: Why is it important to use the "erase all" block at the beginning of the code?
A) To change the sprite's color
B) To make the sprite invisible
C) To move the sprite
D) To clear old outlines
Click to reveal the correct answer
Answer: D) To clear old outlines, otherwise, the screen would get cluttered with overlapping stamps from previous runs.
Question 3: Why do we use a custom block called DrawOutline instead of placing the stamp code directly in the main script?
A) To make the code reusable and organized
B) To make the sprite jump automatically
C) To change the sprite color permanently
D) To slow down the program
Click to reveal the correct answer
Answer: A) To make the code reusable and organized. The custom block can be called multiple times for different sprites or repeated actions.
Subscribe to my YouTube channel for more Scratch tutorials that make programming fun and easy to follow.
TheSTEAMist