Getting Started with Scratch Programming: A Beginner’s Guide to Coding with Blocks
Hey there, and welcome to my very first blog post! If you’re curious about coding and don’t know where to begin, Scratch is one of the best places to start. Whether you’re a student, a parent, a teacher, or just someone interested in programming, Scratch offers a fun, visual, and beginner way to learn the basics of block coding, no prior experience required.
In this blog, we’ll take a look at what Scratch is, why it’s a great tool for beginners, and share some useful tips to help you get started, plus a hands-on project to try using blocks to draw shapes. And if you’re more of a visual learner, don’t worry, there’s a YouTube tutorial linked below to guide you step-by-step.
What Is Scratch and ScratchJr?
Scratch is a free block-based programming platform created by the MIT Media Lab. It’s designed to teach the fundamentals of coding using colorful blocks that snap together like puzzle pieces. You can create games, animations, interactive stories, and even art, all without writing a single line of traditional code.
There’s also ScratchJr, a simplified version of Scratch designed for younger children (typically ages 5 to 7). It runs as a mobile app on tablets and introduces core concepts like sequencing and motion in a very playful, story-based format.
For older learners (8 and up), the main Scratch platform is the perfect place to start creating.
With Scratch you can build:
- Games 🎮
- Animations 🎬
- Art 🎨
- Music 🎹
- Stories 📖
- Tutorials 💡
- And more…

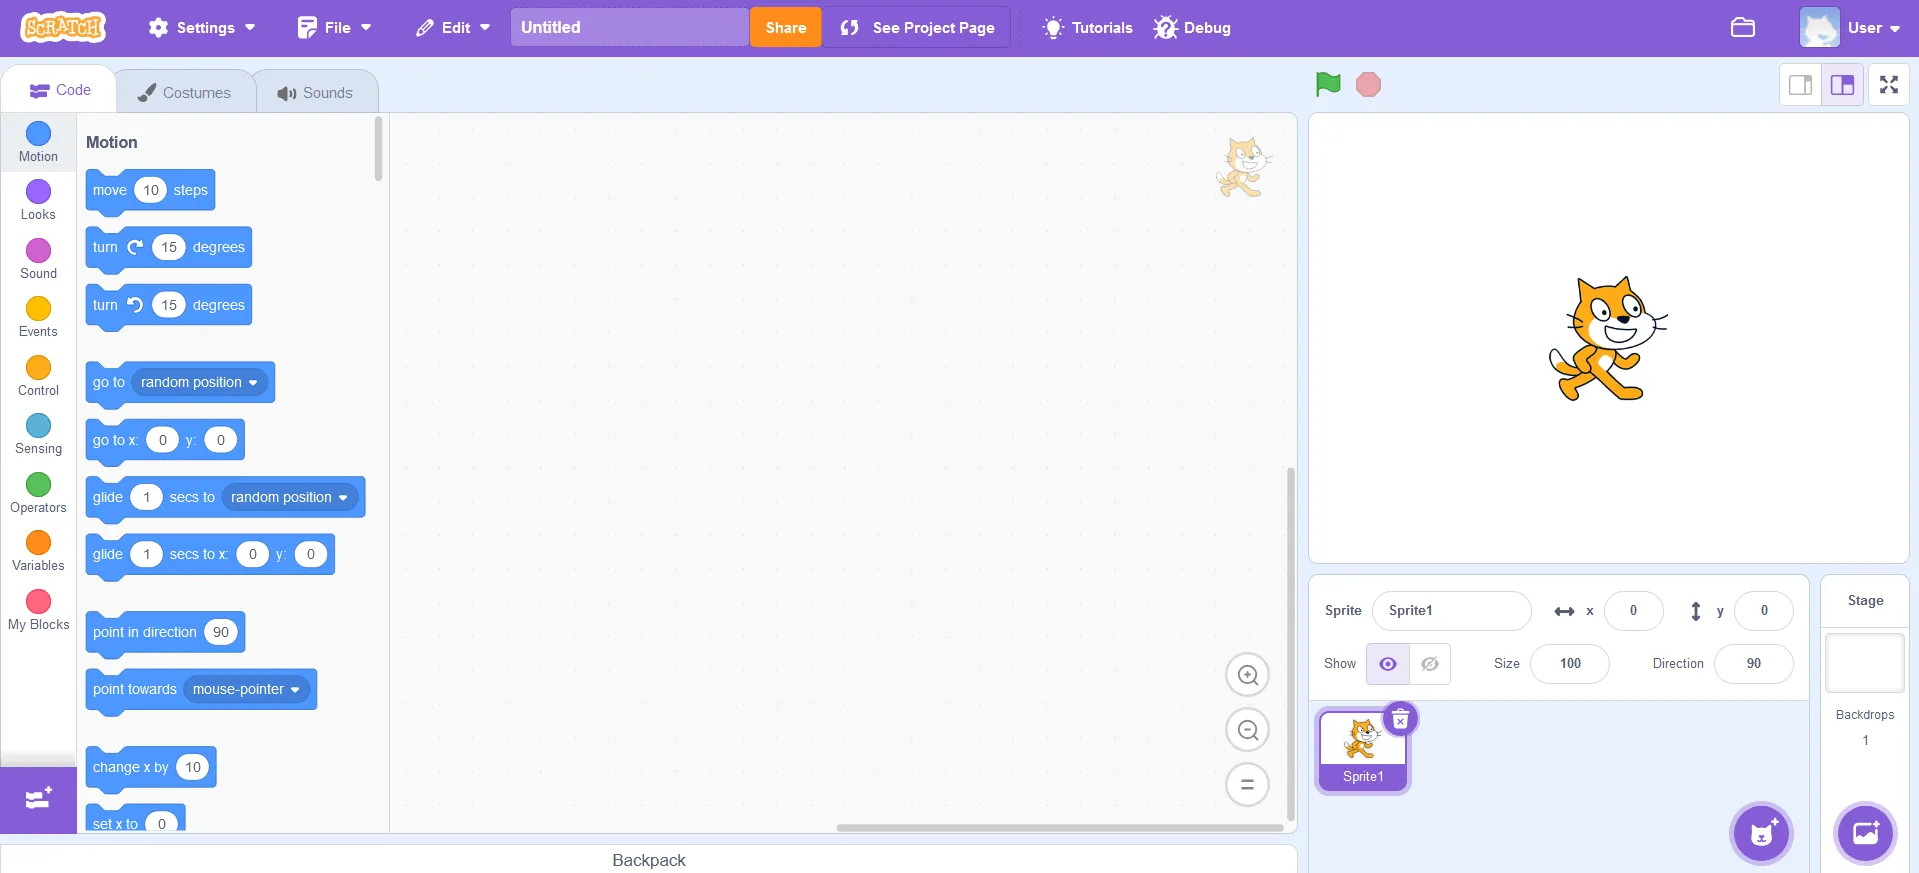
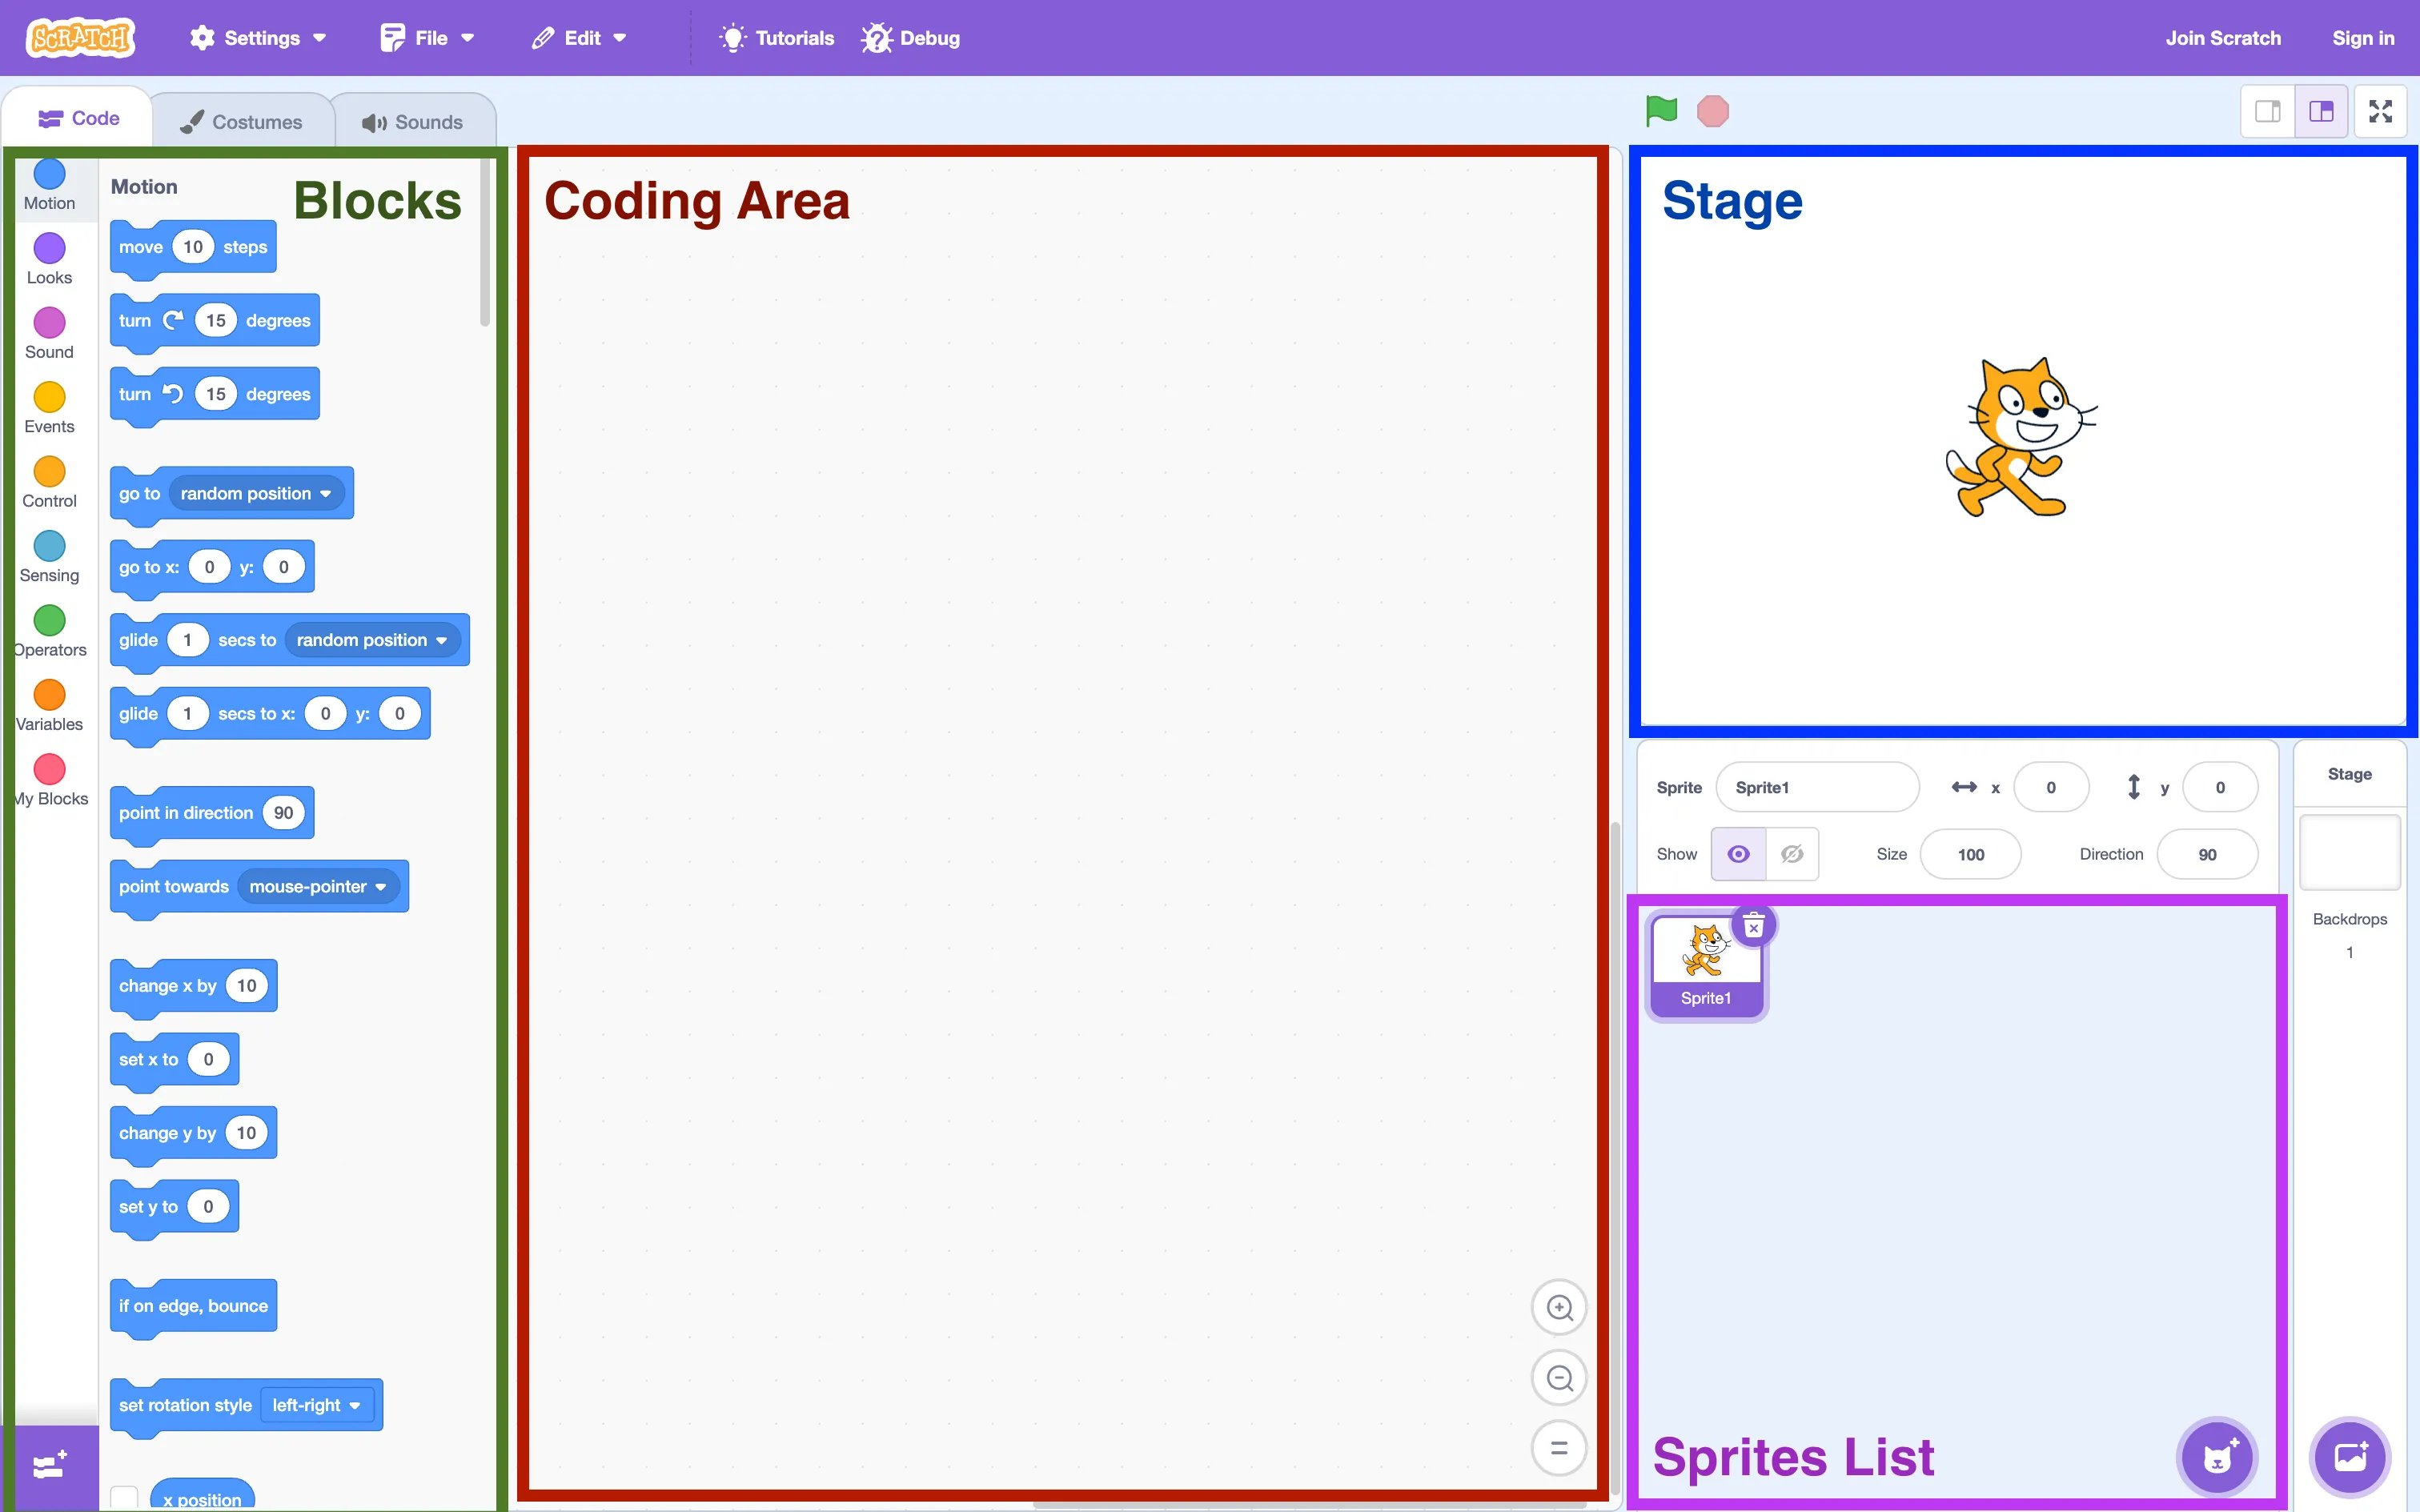
Here’s what the Scratch editor looks like:
How to Write Your First Scratch Program
Here’s what you need to do:
-
Head over to scratch.mit.edu
-
Click “Join” to make a free account (you’ll need one to save your work)

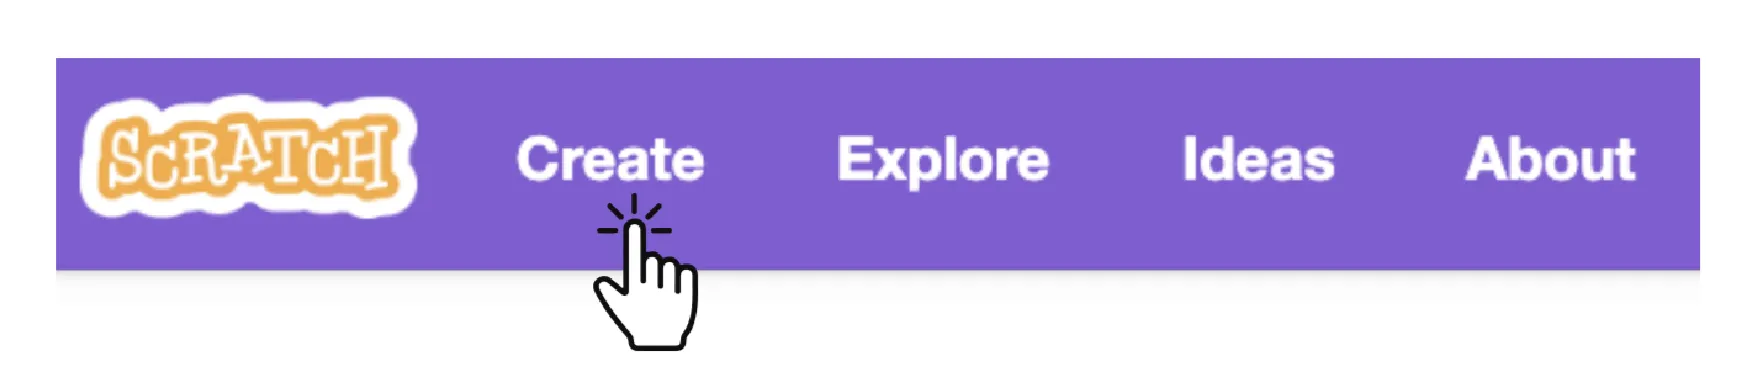
-
Hit the big “Create” button in the top menu
-
You’ll see the stage, sprite (the character on your screen), and block categories. That’s your playground!
One of the easiest ways to begin is by making a sprite move.
Here’s a simple first project:
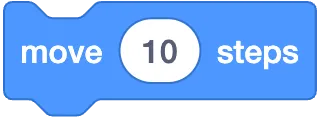
-
drag out a block called “move 10 steps” from the Motion category.
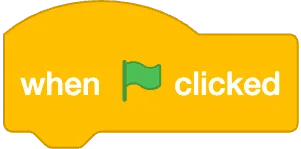
-
Then add a “when green flag clicked” block from the Events category and place it on top of the “move” block.
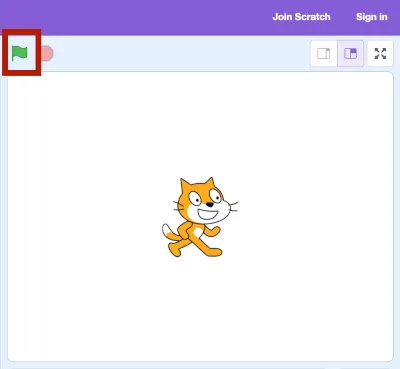
-
Click the green flag at the top of the screen to run your code, and watch your sprite take a step forward!
-
Once your project is done, you can share it with millions of other Scratch users around the world.
📌 Tip for beginners: Every Scratch project needs a trigger block to run. “When green flag clicked” is the most common one. Without it, your sprite won’t do anything, even if you’ve connected other blocks.
Play With the Blocks and Learn by Doing
The beauty of Scratch programming is that you learn by experimenting. You don’t need to understand everything right away - just start dragging blocks and trying them out.
-
Try blocks from the Looks category to make your sprite talk or change colors.
-
Add a “repeat” block to make your sprite move multiple times.
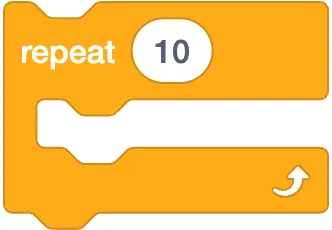
-
Explore Sound, Events, and Control blocks to see how different actions can be triggered.
Everything in Scratch is visual and interactive, which makes it easier to grasp even complex ideas. There’s no need to be perfect, just explore, play, and learn.
📌 Note: Clicking directly on a sprite won’t make it do anything unless you’ve used a block like “when this sprite clicked” in your code.
Helpful Tips for Scratch Beginners
Here are a few practical tips that can really help when you’re just starting out:
Keep It Simple
You don’t need to build a full game on day one. Start small, make a sprite move, say hello, or spin in a circle. Little wins keep you motivated.
Use the “See Inside” Feature
Check out other people’s Scratch projects and click “See Inside.” It’s a great way to learn how different blocks are used. You can also remix those projects and make them your own.
Break Big Ideas Into Small Steps
If you have a big idea, break it down. First make your sprite move, then add jumping, then add scoring. Each small piece builds your project up over time.
Save Your Work Often
If you’re signed in, Scratch will auto-save, but it’s always good to click “Save now” regularly, especially before trying something new.
Explore Scratch Extensions
Scratch has built-in tools like Pen, Music, Text-to-Speech, and more. You can enable these in the bottom-left corner. They expand what your project can do.
Drawing Shapes: A Great Next Step After the Basics
After you’ve experimented a little and feel comfortable with motion, loops, and events, a fun next project is learning to draw shapes using code.
Shapes like triangles, squares, and polygons are not only easy to visualize, they also help you understand how loops, variables, and custom blocks work in Scratch.
Check out this beginner YouTube video
In this project, you’ll learn how to:
-
Use variables to control the number of sides and length of the shape.
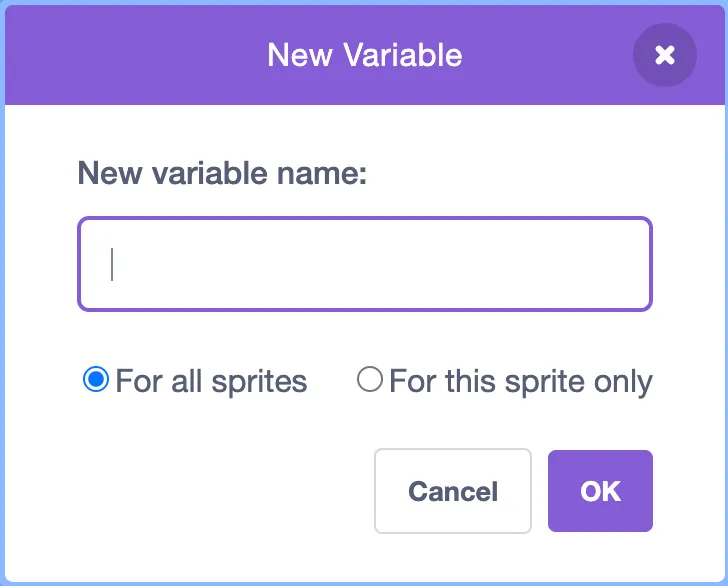
-
Use the Pen extension to draw on the screen.

-
Create and use custom blocks to organize your code.
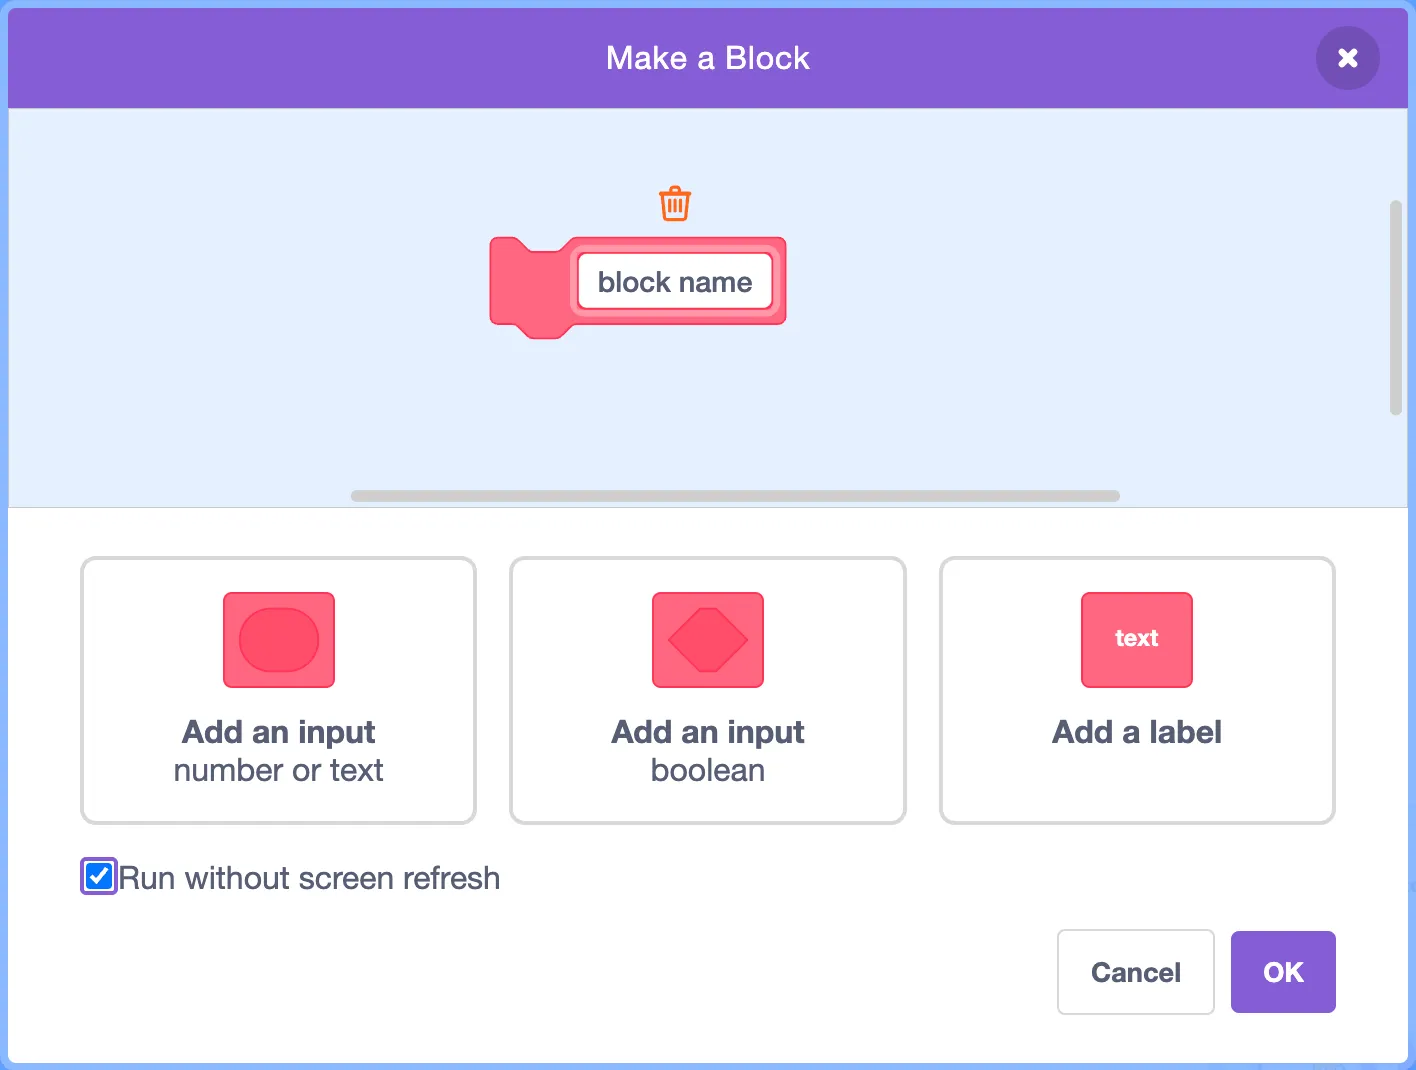
-
Add sliders to let you change shape properties interactively.
Drawing polygons is a perfect next step after trying basic movement. It’s visual, creative, and a great way to practice good coding structure from the start.
What’s Next?
Scratch is a powerful learning tool that grows with you. Whether you’re making simple animations or full games, the more you experiment, the more you’ll learn. And through this blog and TheSTEAMist YouTube channel, I’ll be sharing more hands-on tutorials, creative ideas, and tips to help you improve your Scratch programming skills.
If you’re ready to explore more, start by creating your first movement project, then try drawing shapes with the video above.
Everything starts with a block.
TheSTEAMist