How to make 3D Patterns in Scratch
Create a Stunning 3D Pattern in Scratch with Just One Sprite
If you’re looking to level up your Scratch skills and want something a bit more creative and visually impressive, this tutorial is for you. In this blog, you’ll learn how to create a beautiful, customizable 3D-style pattern in Scratch using just one sprite, one costume, and some clever use of Scratch’s blocks.
Why This Project?
This project keeps things simple. No extensions, no complicated scripts, and no multiple sprites. Just a single square sprite. You don’t need to be an advanced Scratcher to follow along, but the result looks way more advanced than a typical beginner project.
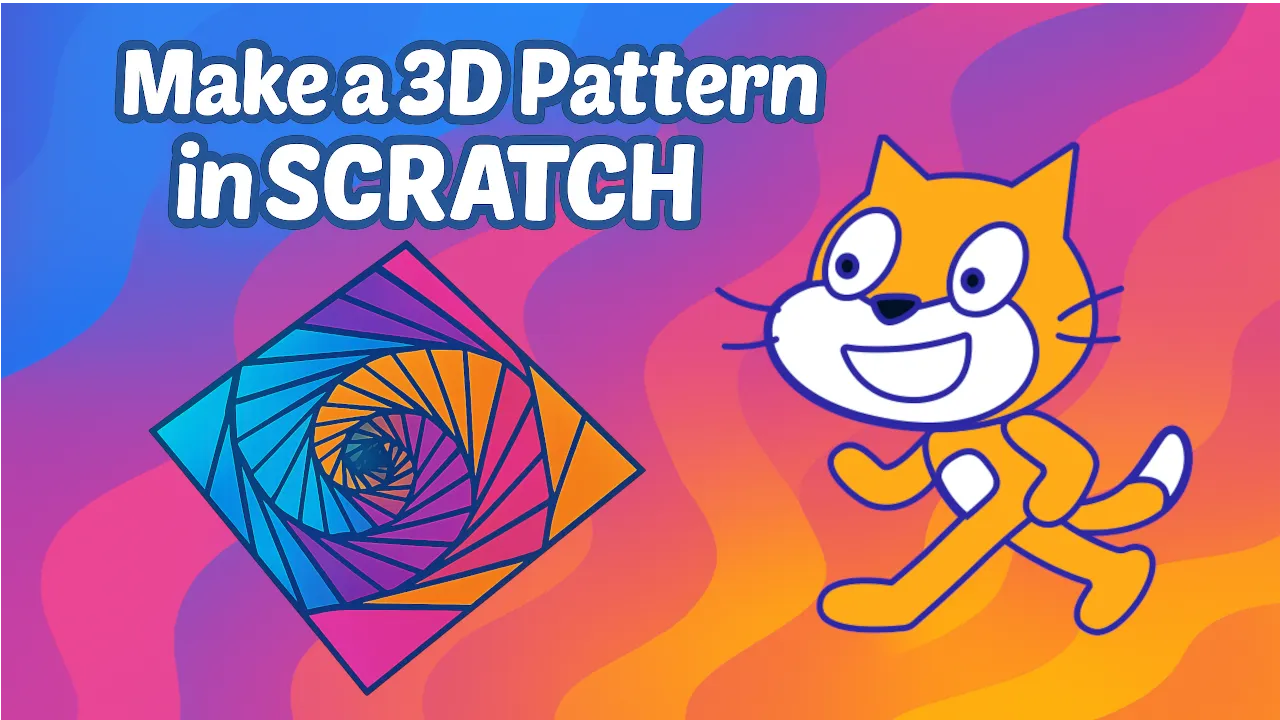
End Result
This Scratch project uses a few variables and parameters to create a fully customizable 3D illusion pattern. Changing the values of these parameters lets the project generate a variety of unique 3D patterns, such as a spiral, a layered square tower, a top-down view of a pyramid, and more.
What’s Covered in This Tutorial
- How to create and use Custom Blocks (functions) in Scratch to keep your code organized and reusable.
- How to use Scratch’s cloning feature to duplicate the square sprite and transform each clone step by step.
- How to apply rotation and scaling to each clone to simulate depth and perspective.
- How to use color effects and outline thickness to add depth and shadows that make your design stand out.
- How to use Scratch’s run without screen refresh option to toggle animation on or off, depending on your project’s needs.
How It Works
- Set up a simple square sprite with just a single square costume. No extra assets required.
- Create a custom block called Create3DPattern with inputs such as x, y, direction, size, clone count, turn angle, color shift, and size change.
- Use clones and rotating each slightly, scaling them down, and applying new color effects.
- Add animation by letting the clones rotate continuously, or disable animation for a static image.
Tips for Customization
- Number of Clones: More clones = smoother, fuller pattern. Try starting with at least 20. Lower numbers (under 10) tend to look too simple or incomplete.
- Turn Angle: A small angle (1–3 degrees) creates tight spirals and layered illusions. Larger angles (5–10) form more open, flower-like shapes.
- Color Effect: Changing color effect by small negative values (like -3) creates a nice gradient. Larger shifts create psychedelic or rainbow effects.
- Outline Width: Thick outlines (4–7) add a shadowed, layered look. No outline makes the shapes look flatter and more abstract.
- Size Change: Negative size change shrinks each clone for depth. Zero size change makes a uniform stack. Positive values can invert the pattern outward.
Want to See It in Action?
For some people, it’s easier to learn by watching than by reading. That’s why we put together a full step-by-step video tutorial to show you the whole process. From setting up your sprite to adjusting the depth and animation, everything is shown clearly with examples. The video also includes extra tips and shows different results you can get just by changing a few variables.
What’s Next?
Finished this project and ready for more? If you want to keep working on this project, here are a few ideas:
- Instead of just using a square sprite, try circles, triangles, or even your own custom shape.
- Add music or sound effects that syncs with the movement of your pattern.
- Use keyboard inputs or sliders (with variables) to let users control values like clone count or turning angle in real time.
- Combine one pattern inside another, or layer multiple patterns with different sprites for added depth and complexity.
Looking for more Scratch projects and tutorials? Join our YouTube channel and explore even more tips and ideas on our blog.
TheSTEAMIst